-
English
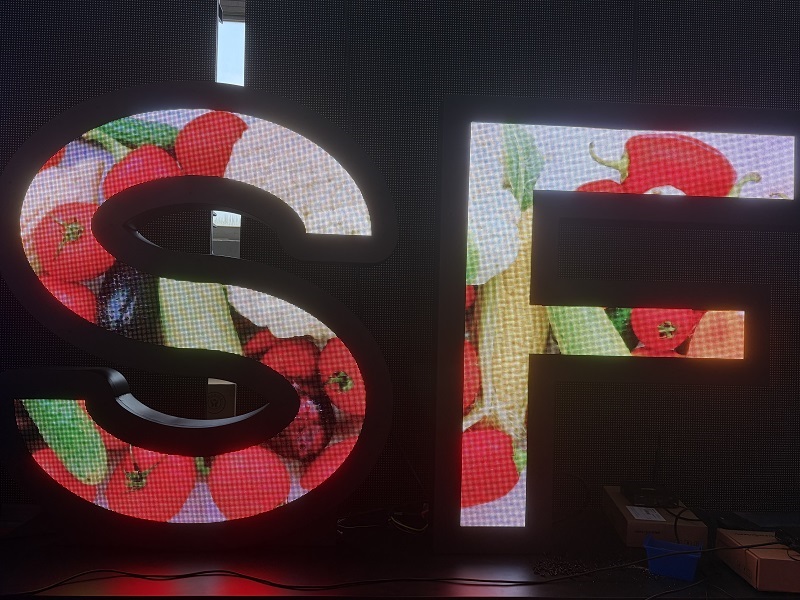
Freestanding letter LED displays have become a popular choice for storefronts, shopping malls, exhibitions, and promotional events. Their eye-catching appearance attracts attention instantly, but proper installation is essential to ensure safety, stability, and long-term performance. Here’s a step-by-step guide to installing and securing a floor-standing letter LED screen.
Before installation begins, determine whether the letters will form a single integrated structure or stand independently.
Most projects use a shared base frame that supports all letters together. This design offers several advantages:
Alternatively, each letter can have its own individual base. While this approach provides greater flexibility in layout, it also requires a perfectly level surface. In addition, installers must run separate power and signal connections to every letter.
Since storefront entrances typically experience heavy foot traffic, preventing tipping and wind-related movement should be the top priority.
First, examine the installation area and identify the flooring material, such as tile, marble, concrete, or asphalt. The surface condition will determine the most suitable fixing method.
If drilling is allowed, installers can anchor the steel base directly to the ground using expansion bolts. This method provides maximum stability and long-term security.
When property regulations prohibit drilling, add counterweights such as cast-iron blocks or sandbags inside the base. By lowering the center of gravity, the display remains stable even when pedestrians accidentally bump into it or strong winds occur.
If the manufacturer delivers the display as a complete unit, simply move it into position and secure it.
For displays shipped in sections, complete the assembly on-site.
Align the mounting bolts at the bottom of each letter with the pre-drilled holes in the base frame. Then tighten the hardware securely from inside the base using lock nuts.
Many large letter displays include hidden support bars that connect adjacent letters. Install and tighten these reinforcement components to increase overall structural strength and prevent movement.
One of the biggest challenges with freestanding LED letters is maintaining a clean appearance while ensuring electrical safety.
Power cables typically run from the building interior to the display location.
If underground routing is not possible, cover exposed cables with heavy-duty rubber cable protectors to eliminate tripping hazards. Whenever conditions allow, installers should route cables through concealed conduits or channels beneath the flooring.
Bring the main 220V power supply into the hidden base cabinet and connect it to industrial-grade switching power supplies. This setup converts high-voltage input into the low-voltage output required by the LED modules.
Because the power equipment remains inside the base, the letters themselves can stay lighter and slimmer.
Next, route the low-voltage cables and network cables from the base into each letter through dedicated cable entry points.
Follow the system wiring diagram carefully and connect the LED modules and receiving cards using ribbon cables or network cables. Proper cable organization improves reliability and simplifies future maintenance.
Once installation is complete, thoroughly test the display before final sealing.
Power on the display and connect to the control system through a computer, Wi-Fi network, or 4G controller.
Import the configuration files and verify that every letter displays the correct colors, brightness levels, and content without signal issues.
For outdoor storefront applications, waterproofing is critical.
Ensure that:
These precautions help protect power supplies and control equipment from moisture damage.
After testing confirms normal operation, close the maintenance openings with stainless steel panels, aluminum composite panels, or acrylic covers.
Finally, apply brand graphics, logos, or decorative films to match the store’s visual identity and create a polished finished appearance.
A properly installed freestanding letter LED display combines visual impact with structural safety. By selecting the right base design, securing the structure correctly, organizing cables professionally, and applying effective waterproof protection, businesses can create a durable and attractive display that performs reliably in both indoor and outdoor environments.
+86 18688923792
+86-755-23312336
4th Floor, Building B, Zhonghe Building, Taiwan Industrial Zone, 2132 Songbai Road, Shiyan Street, Bao'an District, Shenzhen.


Emall us with any questions or inquiries or use our contact data.We would be happy to answer your questions.
Copyright © 2010-2026 Toosen LED All Rights Reserved
Theme by WordPress