-
English
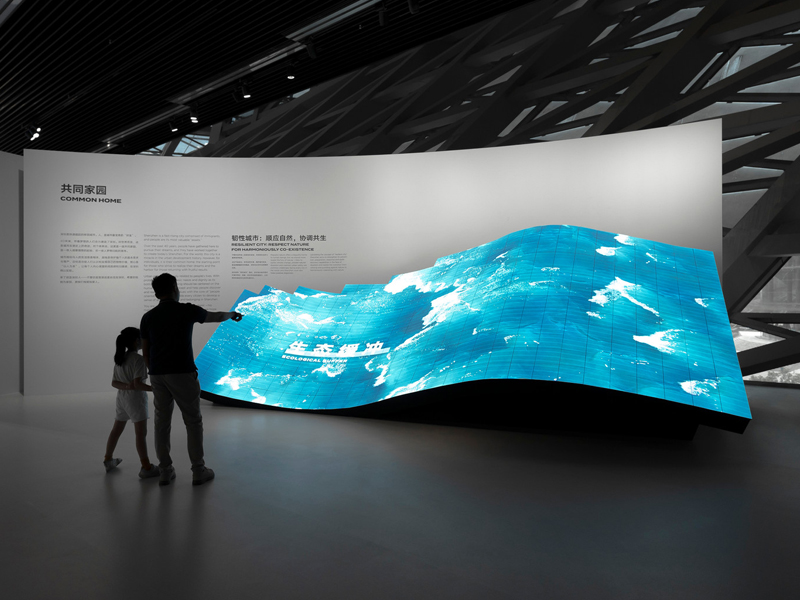
Special-shaped LED displays—such as curved, cylindrical, spherical, and wave-shaped screens—offer more creative freedom than standard flat LED panels. Because they use flexible PCBs and custom-shaped modules, they can match almost any architectural surface and blend smoothly into different environments. These screens also support custom sizes and shapes, making them ideal for artistic installations, commercial spaces, and immersive environments.
However, their unusual shapes make the installation process much more complex than a typical rectangular LED screen. To ensure safety, accuracy, and long-term reliability, you need to follow several key steps. This guide explains the essential points you must consider when installing a special-shaped LED display.
Good planning is the foundation of a successful project. Because special-shaped screens can easily lead to mismatch issues, weight problems, or poor structural support, you should always start with accurate measurements of both the installation site and the screen’s supporting structure.
First, use tools such as laser rangefinders or 3D scanners to capture the exact dimensions of the installation surface. This includes the radius of curved walls, the diameter of spherical structures, or the outline coordinates of custom artistic shapes. For curved screens, confirm the bending angle and minimum bending radius of each module to ensure it matches the surface curvature. For complex shapes like spheres or 3D sculptures, create a 1:1 model to verify the fit and alignment before production.
Next, design a suitable load-bearing structure. Circular screens typically require a ring-shaped steel frame; curved screens need arc-shaped keels; spherical screens need internal grid structures. Choose materials such as aluminum alloy for lightweight and better heat dissipation, or stainless steel for outdoor corrosion resistance. Large installations should also include structural calculations for wind load, vibration, and long-term stability.
If the screen will be hung from the ceiling, confirm that the ceiling can support at least 1.5 times the screen’s total weight. Wall-mounted designs must use anchors fixed directly into load-bearing sections, not lightweight materials like drywall. Flexible LED screens need “flexibility allowance” in the structure to avoid pulling or forcing the modules into unnatural angles.
Because special-shaped LED displays often use custom-shaped modules such as triangular or fan-shaped pieces, pre-assembly in the factory is essential. This lets you check for uniform gaps (≤1mm), ensure there is no misalignment, and verify that text and images appear correctly without distortion.
Signal routing requires special planning as well. Special-shaped shapes usually do not allow straight cable paths, so make sure cables are not bent, squeezed, or folded in critical areas. Leave enough space for signal ports and avoid placing connectors on bending sections. For large installations, consider a distributed control system to prevent signal delay and ensure synchronous playback.
Begin by fixing the frame. Use leveling tools and laser alignment devices to ensure accuracy. For example, circular frames must stay perfectly horizontal, and curved frames must maintain continuous curvature. Keep errors within 2mm per meter to prevent visible misalignment later.
For outdoor projects, apply anti-corrosion treatments such as galvanizing or coating. In coastal areas, choose 316 stainless steel for better salt-spray resistance. Seal the connection points with waterproof sealant to prevent water intrusion.
Use dedicated connectors or adjustable screws to secure modules. After installing every few modules, verify their position with a 3D scanner to ensure they follow the designed shape. This prevents issues such as “oval deformation” in spherical screens or “sharp bends” in curved displays.
Special-shaped screens often have uneven joints, so use suitable filling strips and weather-resistant sealants to smooth out gaps without affecting the visual appearance.
Power on the screen during installation to check color uniformity, brightness consistency, and geometric accuracy. Adjust any distortion caused by the special-shaped shape. Pay special attention to edges and curved areas, because they are more prone to inconsistency.
Separate power and signal cables by at least 10cm to avoid electromagnetic interference. For flexible screens, leave extra cable length (about 10% more) to allow natural bending. Do not tighten cable ties excessively.
Rigid screens require strong contact between modules and frames for passive heat dissipation. Large screens may need fans or heat sinks to keep LED temperatures below 60°C. Avoid covering flexible LED screens with materials that block airflow or heat dissipation.
Outdoor special-shaped screens need IP65-rated waterproof connectors, sealed module gaps, and bottom drainage holes to prevent water accumulation.
Wear anti-static clothing and gloves to protect the LED chips, especially for high-density Mini/Micro LED modules. During high-altitude installation, use safety belts, protective lifting bags, and warning zones to prevent accidents. Handle flexible modules carefully to avoid scratches, and avoid dropping rigid modules to prevent damage.
After installation, perform a complete inspection to ensure stable long-term operation.
Run the screen continuously for 24 hours to check for distortion, color deviation, and brightness uniformity. Brightness at the edges should reach at least 85% of the center. Play dynamic content to ensure smooth, delay-free performance.
For outdoor screens, conduct simulated rain and dust tests to check waterproofing. Indoor screens should undergo humidity testing (e.g., 80% humidity for 12 hours) to ensure stable operation.
Check that the supporting structure is firm and that there is no shaking or deformation. Confirm that all electrical connections are tight and show no signs of heating.
Large special-shaped displays require maintenance openings (≥50cm × 50cm) for future repairs. Label all modules, cables, and connectors clearly. Keep installation drawings, module specifications, and control software instructions for long-term service.
Special-shaped LED screens create eye-catching visual effects, but they also require strict planning and careful execution. By focusing on accurate measurements, proper structural design, efficient signal planning, systematic installation, and thorough testing, you can ensure that your custom-shaped LED display delivers safe, stable, and stunning performance for years.
Their unique shapes require precise measurements, custom structures, curved or segmented module fitting, and special wiring paths. This makes planning and installation more complex than standard rectangular screens.
Use ring-shaped frames for circular screens, arc-shaped keels for curved screens, and internal grid structures for spherical screens. Choose aluminum alloy or stainless steel for strength, durability, and heat dissipation.
Make sure modules are pre-assembled in the factory, gaps are even, and content displays without distortion. Verify the bending radius matches the site’s curvature.
Use IP65 or higher waterproof connectors, apply weather-resistant sealant on seams, and design drainage holes at the bottom to prevent water accumulation.
+86 18688923792
+86-755-23312336
4th Floor, Building B, Zhonghe Building, Taiwan Industrial Zone, 2132 Songbai Road, Shiyan Street, Bao'an District, Shenzhen.


Emall us with any questions or inquiries or use our contact data.We would be happy to answer your questions.
Copyright © 2010-2025 Toosen LED All Rights Reserved
Theme by WordPress