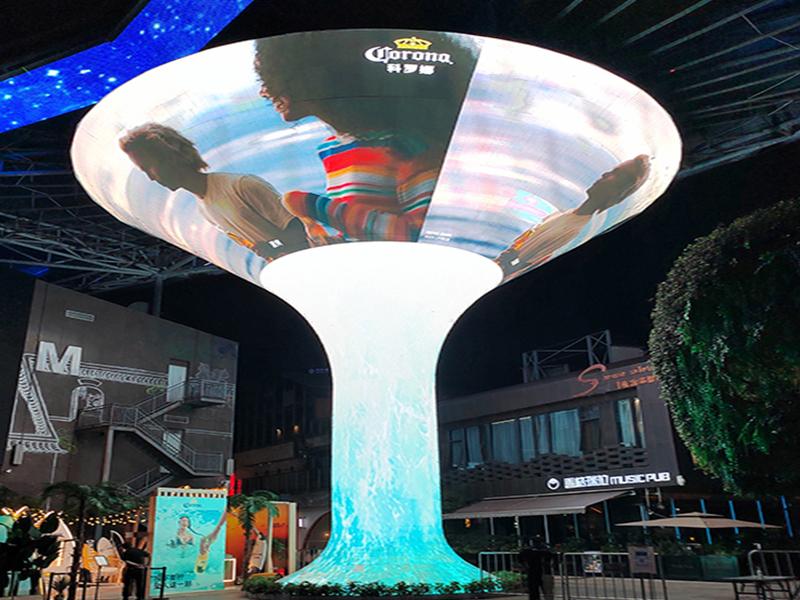
How to Install a Cylindrical LED Display: Step-by-Step Guide
28-Apr-2026 06:29:25Installing a cylindrical (column) LED display is not just a mechanical task—it’s a systems integration process involving structure, power distribution, signal transmission, and pixel-level alignment. A well-executed installation ensures long-term stability, uniform brightness, and seamless visuals.
Below is a clear, field-oriented installation workflow.
1. Cabinet & Structural Installation
Preparation
Before installation begins, verify all tools and materials:
- Screwdrivers, drills, torque wrenches
- Bolts, nuts, expansion anchors
- Measuring tools (laser level recommended)
Also confirm:
- Column dimensions (diameter, height, curvature)
- Load-bearing capacity
- Maintenance access
Mounting the Support Structure
The mounting structure is critical—it determines alignment accuracy and long-term reliability.
Execution steps:
- Install brackets or subframe
- Fix mounting brackets onto the column surface
- Use expansion bolts or welded steel frames depending on structure type
- Ensure the frame is:
- Level (horizontal tolerance < 1 mm)
- Vertically aligned
- Adapt to column geometry
- Round columns → curved/custom brackets
- Square columns → right-angle framing system
Most projects use pre-engineered steel structures tailored to the column size.
Installing LED Cabinets
- Mount LED cabinets onto the support structure sequentially
- Align each cabinet precisely to avoid:
- Visible seams
- Pixel misalignment
Best practices:
- Install from bottom to top
- Use positioning pins if available
- Tighten bolts with consistent torque
2. Power and Signal Wiring
Power Distribution
- Connect power cables to each cabinet
- Use distributed power supply design to avoid overload
Key considerations:
- Voltage stability
- Proper grounding (critical for safety)
- Load balancing across circuits
Signal Transmission
- Connect data cables between cabinets
- Common transmission methods:
- Ethernet (CAT5e/CAT6)
- Fiber optics (for long-distance or large displays)
Topology:
- Daisy-chain (most common)
- Redundant loop (recommended for high-end projects)
Connection Verification
Before proceeding:
- Check all connectors are secure
- Ensure no loose terminals
- Label cables for maintenance clarity
3. LED Module Installation
Module Inspection
Before mounting:
- Inspect each LED module for:
- Dead pixels
- Physical damage
- Connector integrity
Installing Modules
- Attach modules to cabinets using:
- Magnetic mounts (common in indoor displays)
- Screws (more secure for outdoor setups)
Alignment is critical:
- Maintain uniform gaps
- Ensure flatness across the surface
Module Wiring
- Connect power and signal cables between modules
- Verify continuous signal flow across the entire display
A single loose ribbon cable can disrupt an entire section—double-check everything.
4. System Testing and Debugging
Once hardware installation is complete, move to commissioning:
Initial Power-On
- Power up gradually (section by section if possible)
- Check for abnormal current draw
Signal Testing
- Send test patterns:
- Solid colors (R/G/B/White)
- Grid patterns
Look for:
- Color inconsistency
- Flickering
- Signal loss
Calibration
- Adjust brightness and color uniformity
- Configure refresh rate (e.g., ≥3840Hz for indoor high-end displays)
- Map cabinet addressing correctly
5. Final Optimization
To ensure a professional result:
- Perform full-screen content playback test
- Check viewing from multiple angles (especially for cylindrical displays)
- Secure all access panels
Practical Installation Tips
- Tolerance control matters: Even small misalignments become obvious on curved surfaces
- Thermal management: Ensure airflow, especially for enclosed columns
- Maintenance access: Always leave service gaps or front-access capability
- Waterproofing (outdoor): Seal all cable entries and joints
Conclusion
Installing a cylindrical LED display requires coordination between mechanical engineering, electrical systems, and display calibration.
When done correctly, the result is a seamless, 360° visual structure that integrates perfectly with architecture and delivers high-impact digital content.
If you’re planning a project, it’s worth treating installation not as a simple assembly job—but as a precision engineering process.