-
English
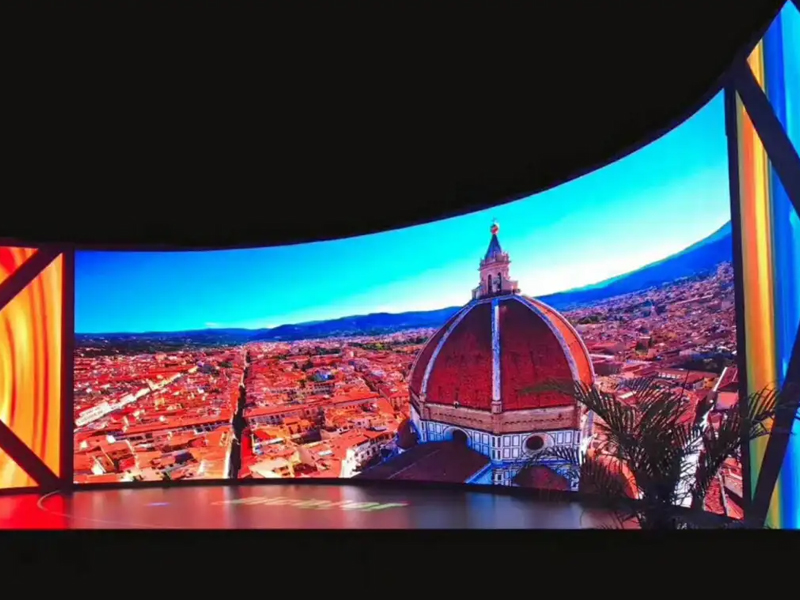
A curved LED display is a specialized screen that forms a seamless arc by arranging multiple LED modules along a defined radius. This configuration creates an immersive, wraparound visual effect, which makes it ideal for stages, exhibition halls, retail spaces, and outdoor advertising.
Below is a structured, step-by-step overview of how to manufacture and install a curved LED display, expressed with a clear, action-driven workflow.
Start by defining the key project parameters. Determine the display size, curvature radius, installation location, and viewing distance. Then, select the appropriate LED module type, pixel pitch, and quantity based on these requirements.
At the same time, design the curvature profile—whether it is a simple arc, wave, or complex multi-radius structure. Finally, prepare all necessary materials and tools, including PCB boards, connectors, power supplies, control systems, and LED strips or modules.
Next, cut the printed circuit boards (PCBs) to match the required dimensions or curvature segmentation. After that, solder the electronic components onto the boards.
During this process, technicians must control soldering quality carefully. They should prevent short circuits, cold joints, and leakage issues, as these defects can directly affect display stability and lifespan.
Then, assemble the LED modules according to the designed curvature. Arrange each module so that spacing remains consistent across the arc.
To achieve a smooth visual curve, installers typically use custom brackets, flexible modules, or precision mounting frames. This step ensures uniformity, which is critical for avoiding visual distortion or segmentation lines.
After assembling the modules, connect all signal and power cables. Integrate the driver ICs, receiving cards, and power supplies into a complete system.
At this stage, run initial tests to verify connectivity. Check whether all modules respond correctly and confirm that voltage and signal transmission remain stable.
To maintain the curved shape and ensure long-term stability, install a dedicated support structure. Depending on the project, this may include a steel frame, aluminum profile system, or custom-engineered mounting brackets.
The structure must withstand the display’s weight, as well as environmental forces such as vibration or wind (for outdoor applications). Therefore, engineers should validate load-bearing capacity and structural integrity during this step.
Next, organize all internal and external cabling. Secure power lines, signal cables, and control wires to prevent loosening or interference.
If the project includes additional systems—such as audio equipment, media servers, or interactive sensors—connect them to the display interface at this stage. Clean cable management not only improves safety but also simplifies future maintenance.
Before final installation, perform a comprehensive system check. Adjust brightness, color uniformity, grayscale, and white balance to ensure consistent image quality across the curved surface.
In addition, run content tests to confirm that visuals render correctly along the curvature without distortion or misalignment.
Finally, install the curved LED display at the designated site. Secure it firmly to the mounting structure and verify alignment with the surrounding architecture.
After installation, conduct a final round of testing and fine-tuning. Confirm stable operation, proper heat dissipation, and reliable signal performance to ensure the display delivers optimal results in real-world use.
In essence, building and installing a curved LED display requires tight coordination between design, electronics, and structural engineering. By following a systematic workflow—from planning and fabrication to calibration and final deployment—you can achieve a visually seamless and structurally reliable curved display system.
+86 18688923792
+86-755-23312336
4th Floor, Building B, Zhonghe Building, Taiwan Industrial Zone, 2132 Songbai Road, Shiyan Street, Bao'an District, Shenzhen.


Emall us with any questions or inquiries or use our contact data.We would be happy to answer your questions.
Copyright © 2010-2026 Toosen LED All Rights Reserved
Theme by WordPress